
STEP 01
Blog setup
Set up core information such as your brand name, domain, and cover image.
From opening your blog to generating Google EEAT-aligned AI drafts and auto-publishing to four SNS channels, every content operation step is handled in one Alleo console.
Alleo Blog handles blog setup, AI post writing, SNS multi-channel publishing, and even the most tedious part, automatic SEO optimization, all in a single console.
Set up core information such as your brand name, domain, and cover image.
Answer guided questions and AI generates both a draft and search visibility information.
Check wording and images in the markdown editor, then publish.
Automatically publish in each channel's tone and style (X, Threads, Facebook, Instagram).
At save time, complex SEO specs and search optimization values operators often miss (slug, metadata, JSON-LD, image URLs, and more) are generated and processed automatically in the backend.
Before writing posts, set your blog address, brand info, design, and external links. These settings become defaults for all later posts and SNS sharing data.
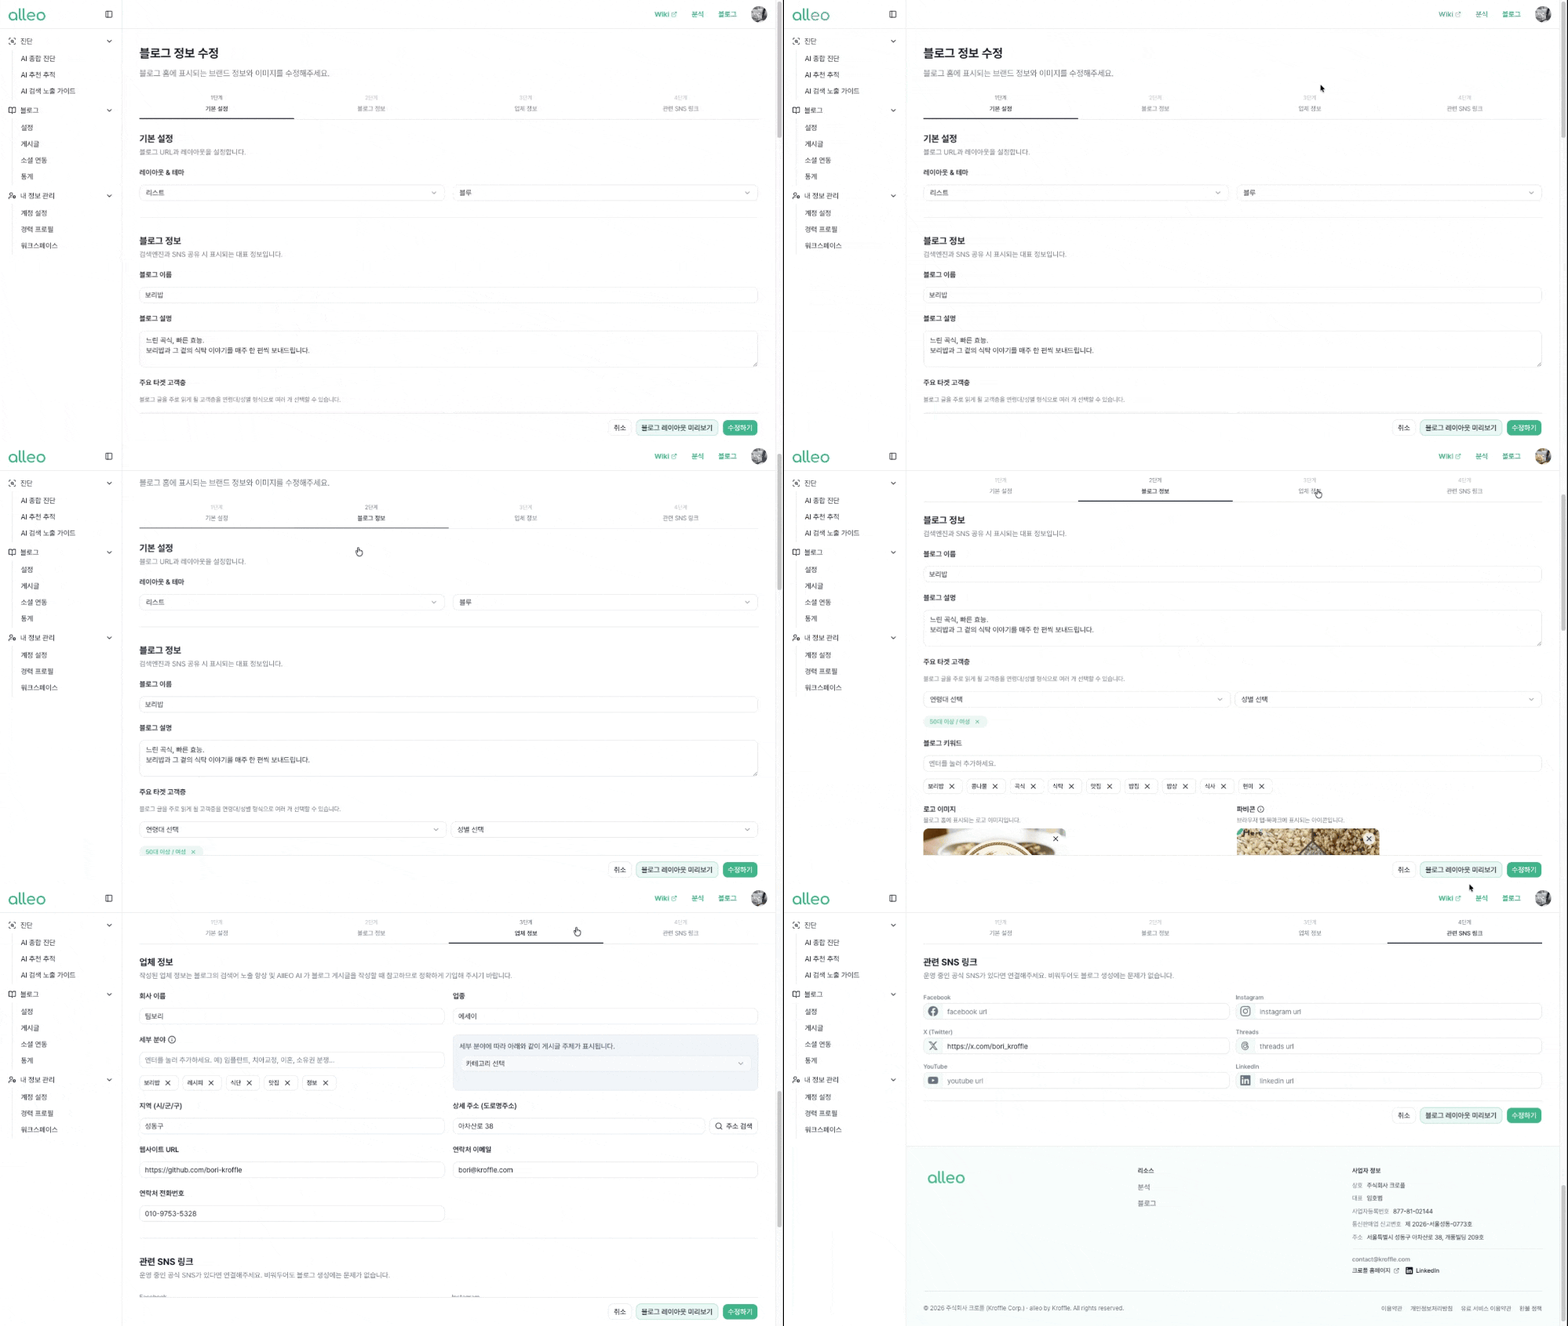
Choose the primary address visitors will access. Start with an alleo.blog subdomain, then expand to a custom domain once your operations are ready.
Enter your blog name, intro text, company name, and cover image. This information is used as defaults for your blog home, footer, search previews, and SNS share cards.
Select how posts are displayed on your blog home. A list layout is easier to read with fewer posts, while an image-heavy brand often benefits from a grid layout.
Enter your active SNS channels, email, and website information. These links help visitors trust your brand and move to other channels.
In the Alleo console, you can freely choose a writing route based on whether you already have a draft. If this is your first time, we recommend using AI Interview to get a complete draft and then refine it in the editor.
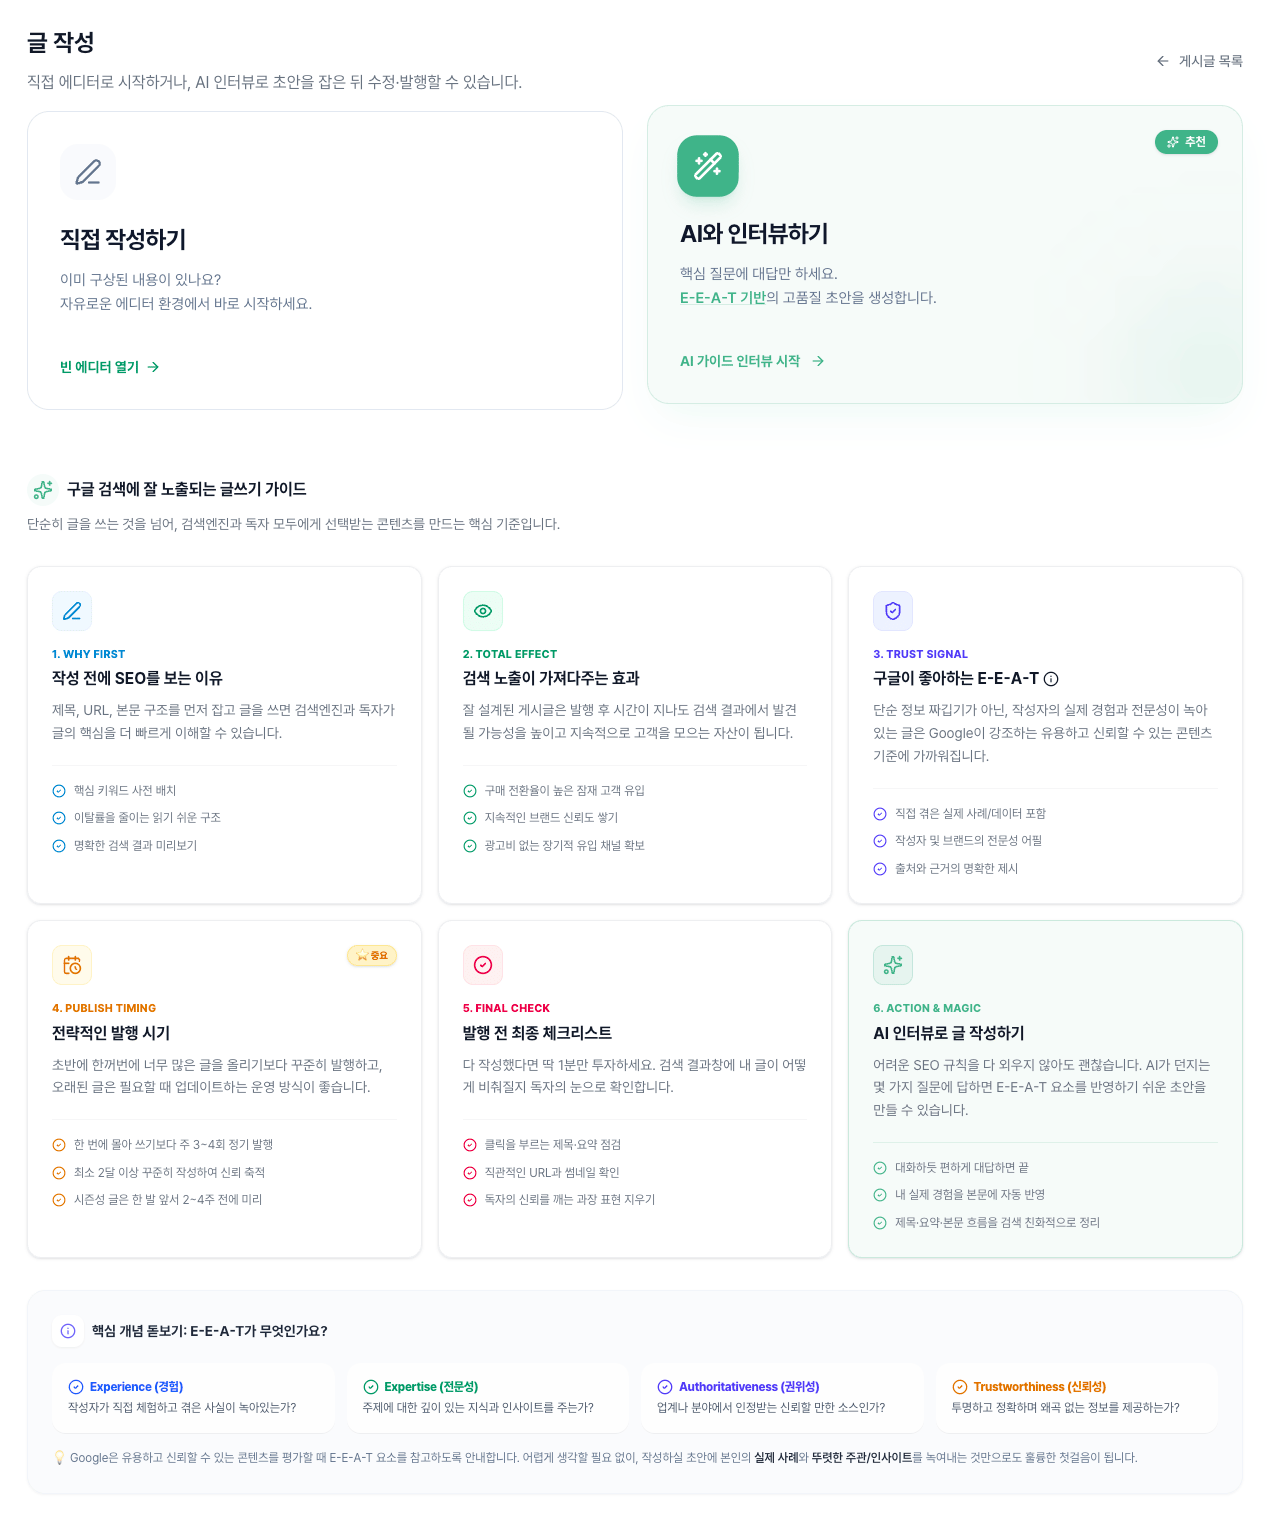
Use this sequence when you already have prepared text or a clear layout in mind.
Set the post title, URL slug, summary, category, tags, and thumbnail. These values become the basis for list cards, search results, and SNS share previews.
Use the editor to freely compose headings, subheadings, lists, quotes, images, tables, and links. Formatting remains clean and consistent.
Organize SEO title, meta description, tags, and structured data so both search engines and AI search can understand your post. If unsure, start with recommended values.
Upload or manage body images directly. The selected thumbnail is reused for post lists and SNS publishing cards.
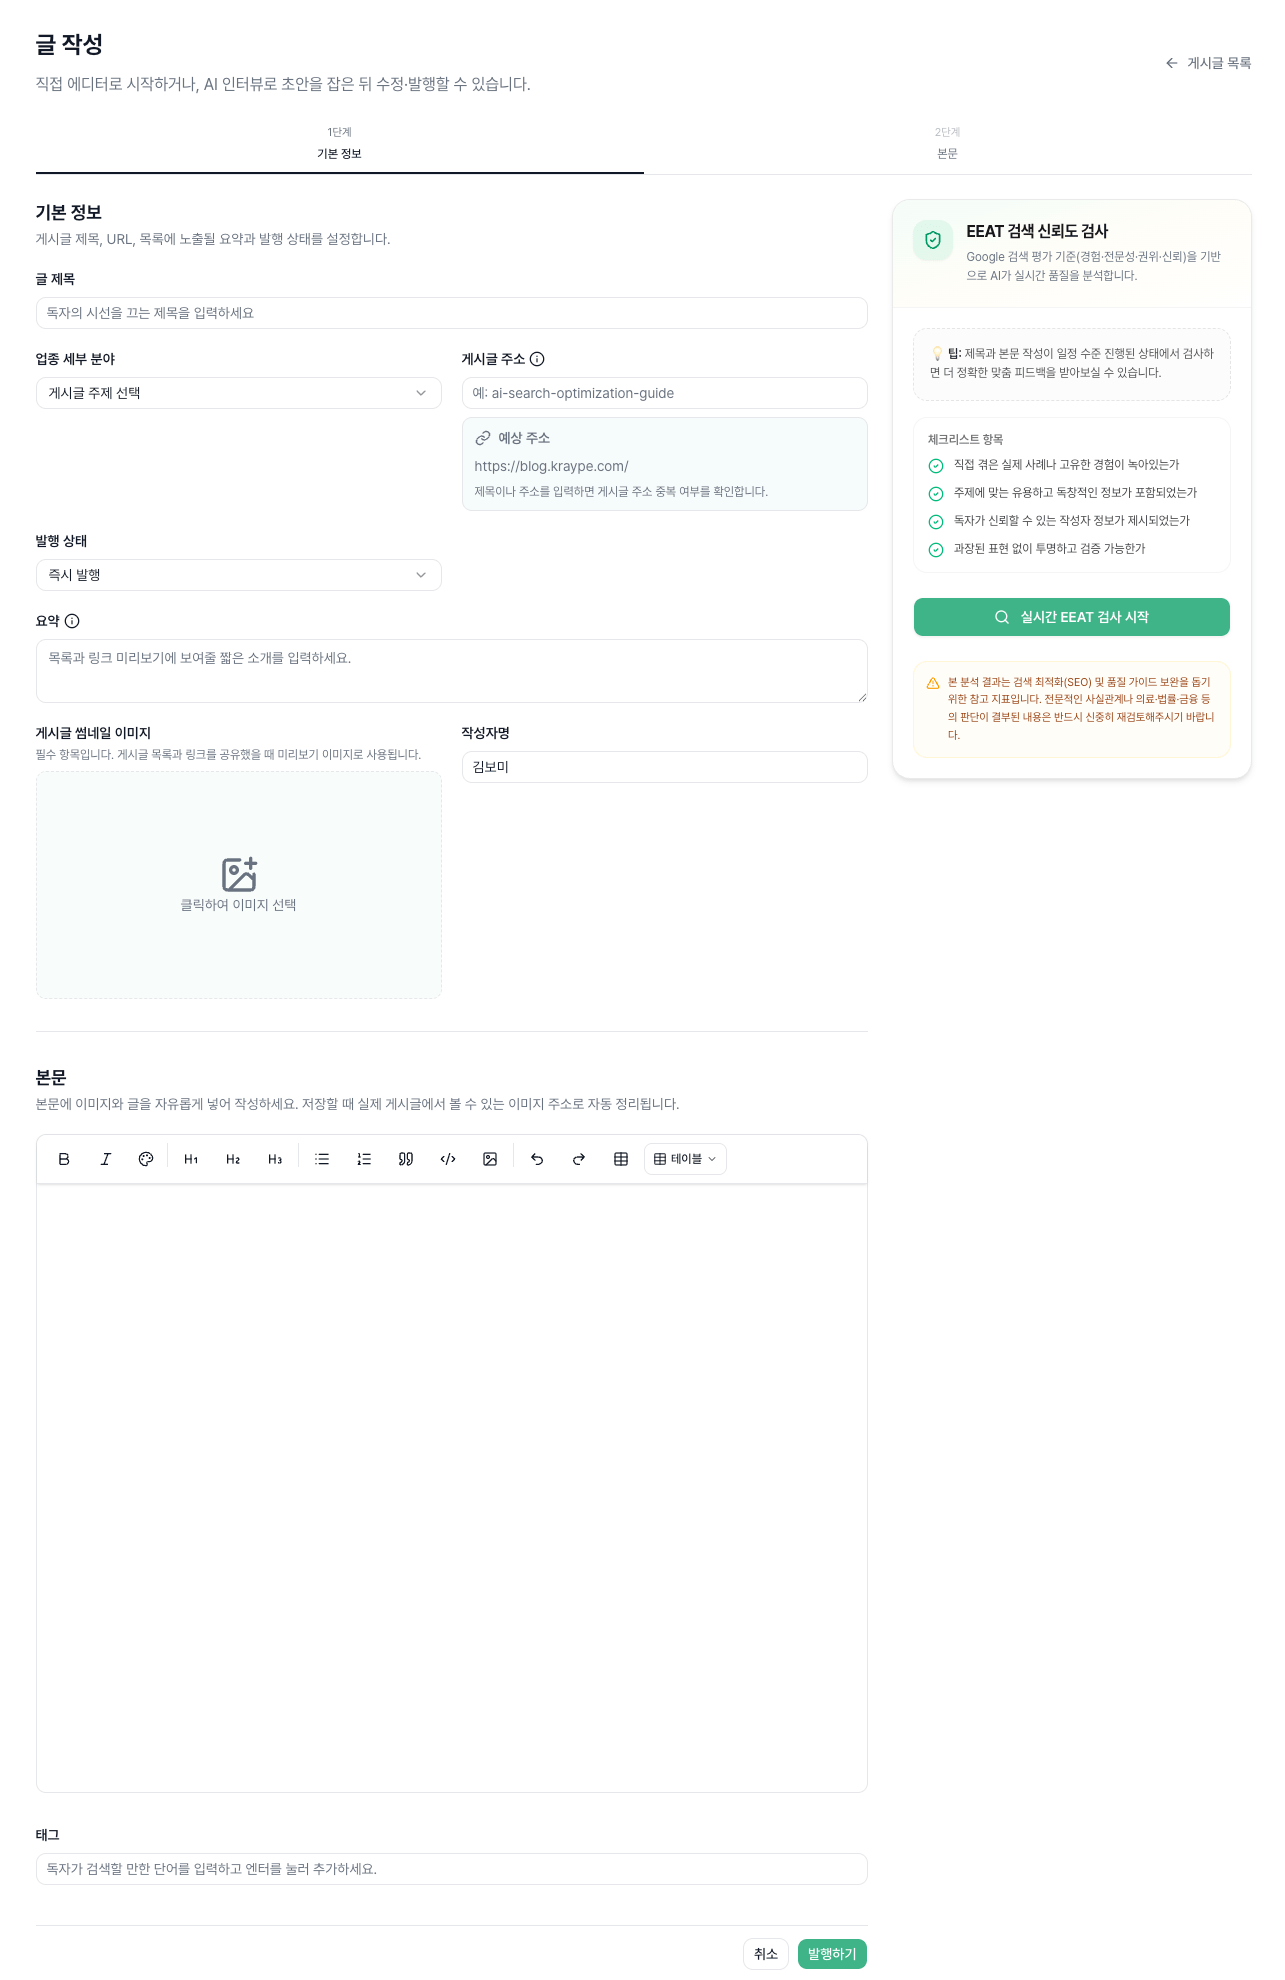
Generate high-quality posts with a builder designed around Google EEAT search optimization standards.
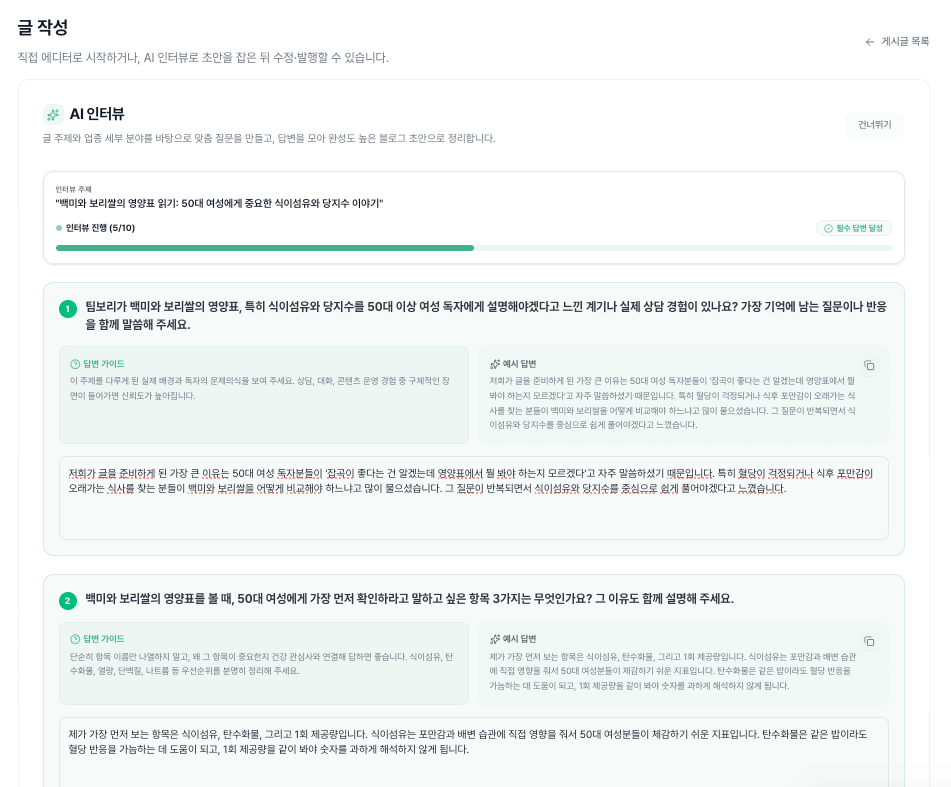
Tell us the target of this post among product, service, feature, or case study. Example: new product launch, clinic service guide, academy curriculum, brand comparison.
Write what searchers really ask, such as frequent questions, purchase hesitation points, pricing, duration, outcomes, or preparation items.
Add credibility-building evidence such as firsthand cases, customer reviews, before/after comparisons, metrics, operating period, qualifications, or certifications.
Define the core reader and the expected action after reading. Example: request consultation, make a reservation, ask for a quote, visit a store, read another post.
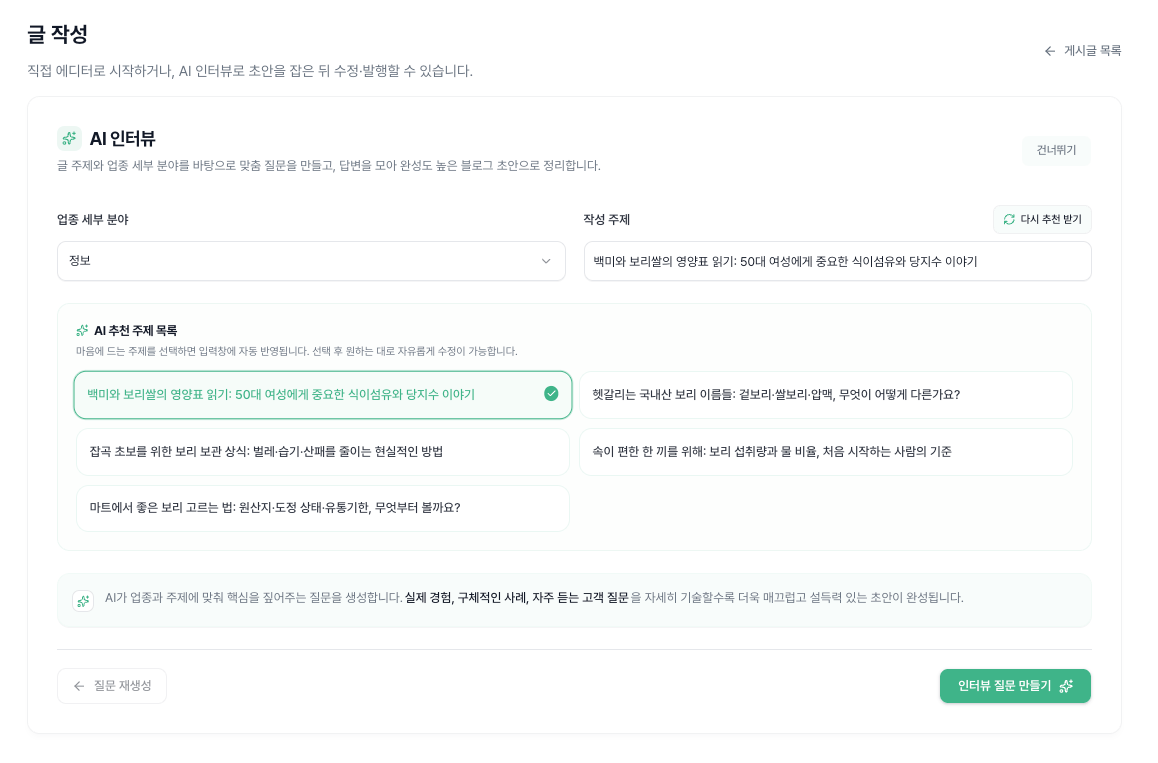
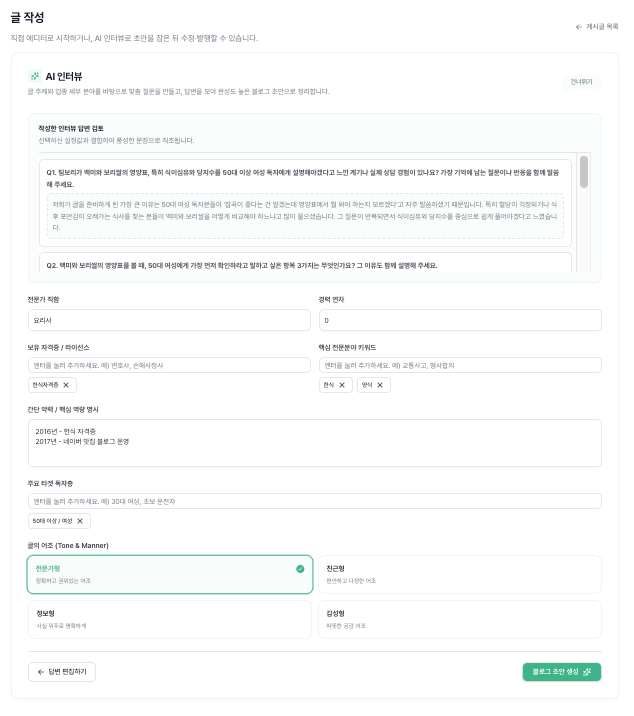
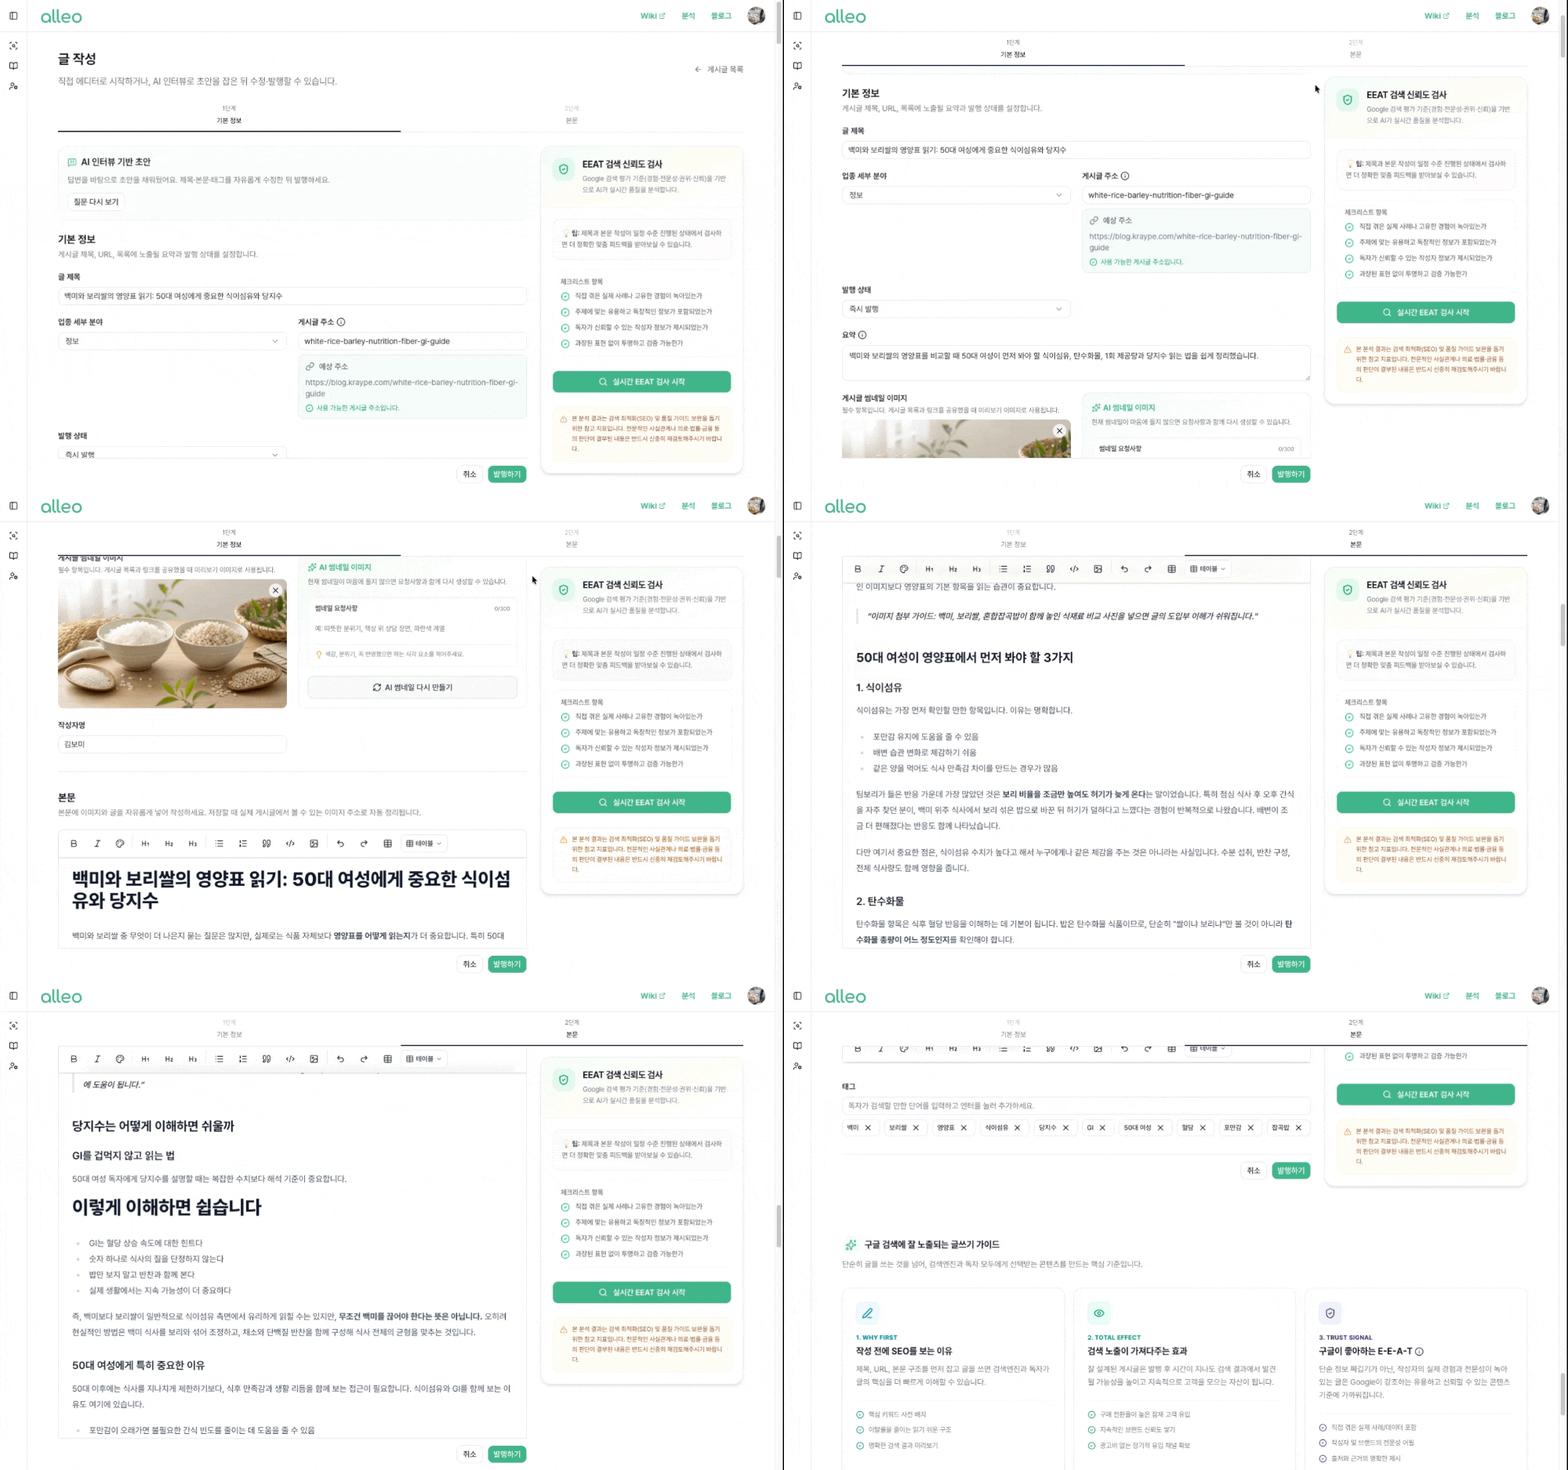
Generate title options that reflect both search keywords and reader intent. You can choose and apply the one you prefer.
Based on interview answers, generate a markdown draft that fully includes introduction, body, summary, and CTA. You only need to review factual accuracy.
AI automatically matches summary text, tags, and meta descriptions from the body, which are essential for list views and search engine exposure.
Build high-quality thumbnail prompts aligned with your topic, generate images, and immediately assign one as the representative visual.
As soon as writing is complete, the post is published to your blog and available to visitors.
Keep in-progress writing safely in a private state.
Set a target time zone and the post is automatically distributed at the scheduled time.
To activate multi-publishing, approve API access for target channels first. This uses secure official OAuth login, and cross-publishing permissions are granted only to activated channels.
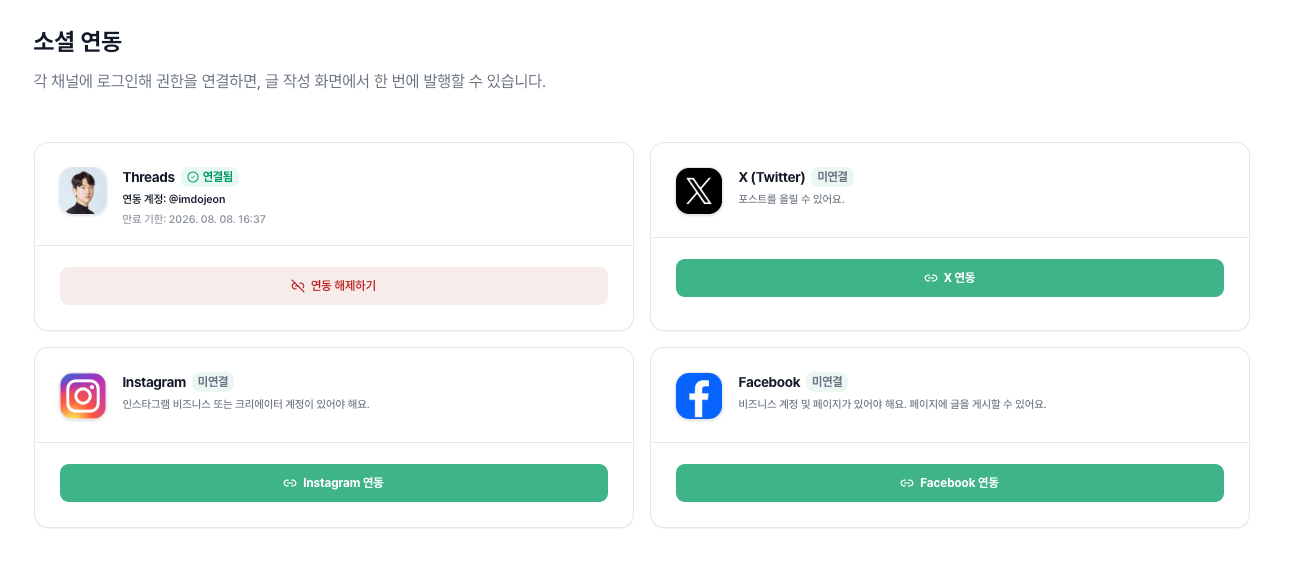

Publish posts and images centered on brand pages.

Publish visual feed content focused on images.

Distribute real-time short-form posts combining concise copy and outbound links.

Spread stories with a text-first conversational tone and style.
When you trigger a platform button in the dashboard panel, a secure OAuth popup window opens.
Without copy-pasting the written blog post, complete simultaneous multi-channel distribution in one click using AI copy transformation tuned to each SNS channel's format and tone.
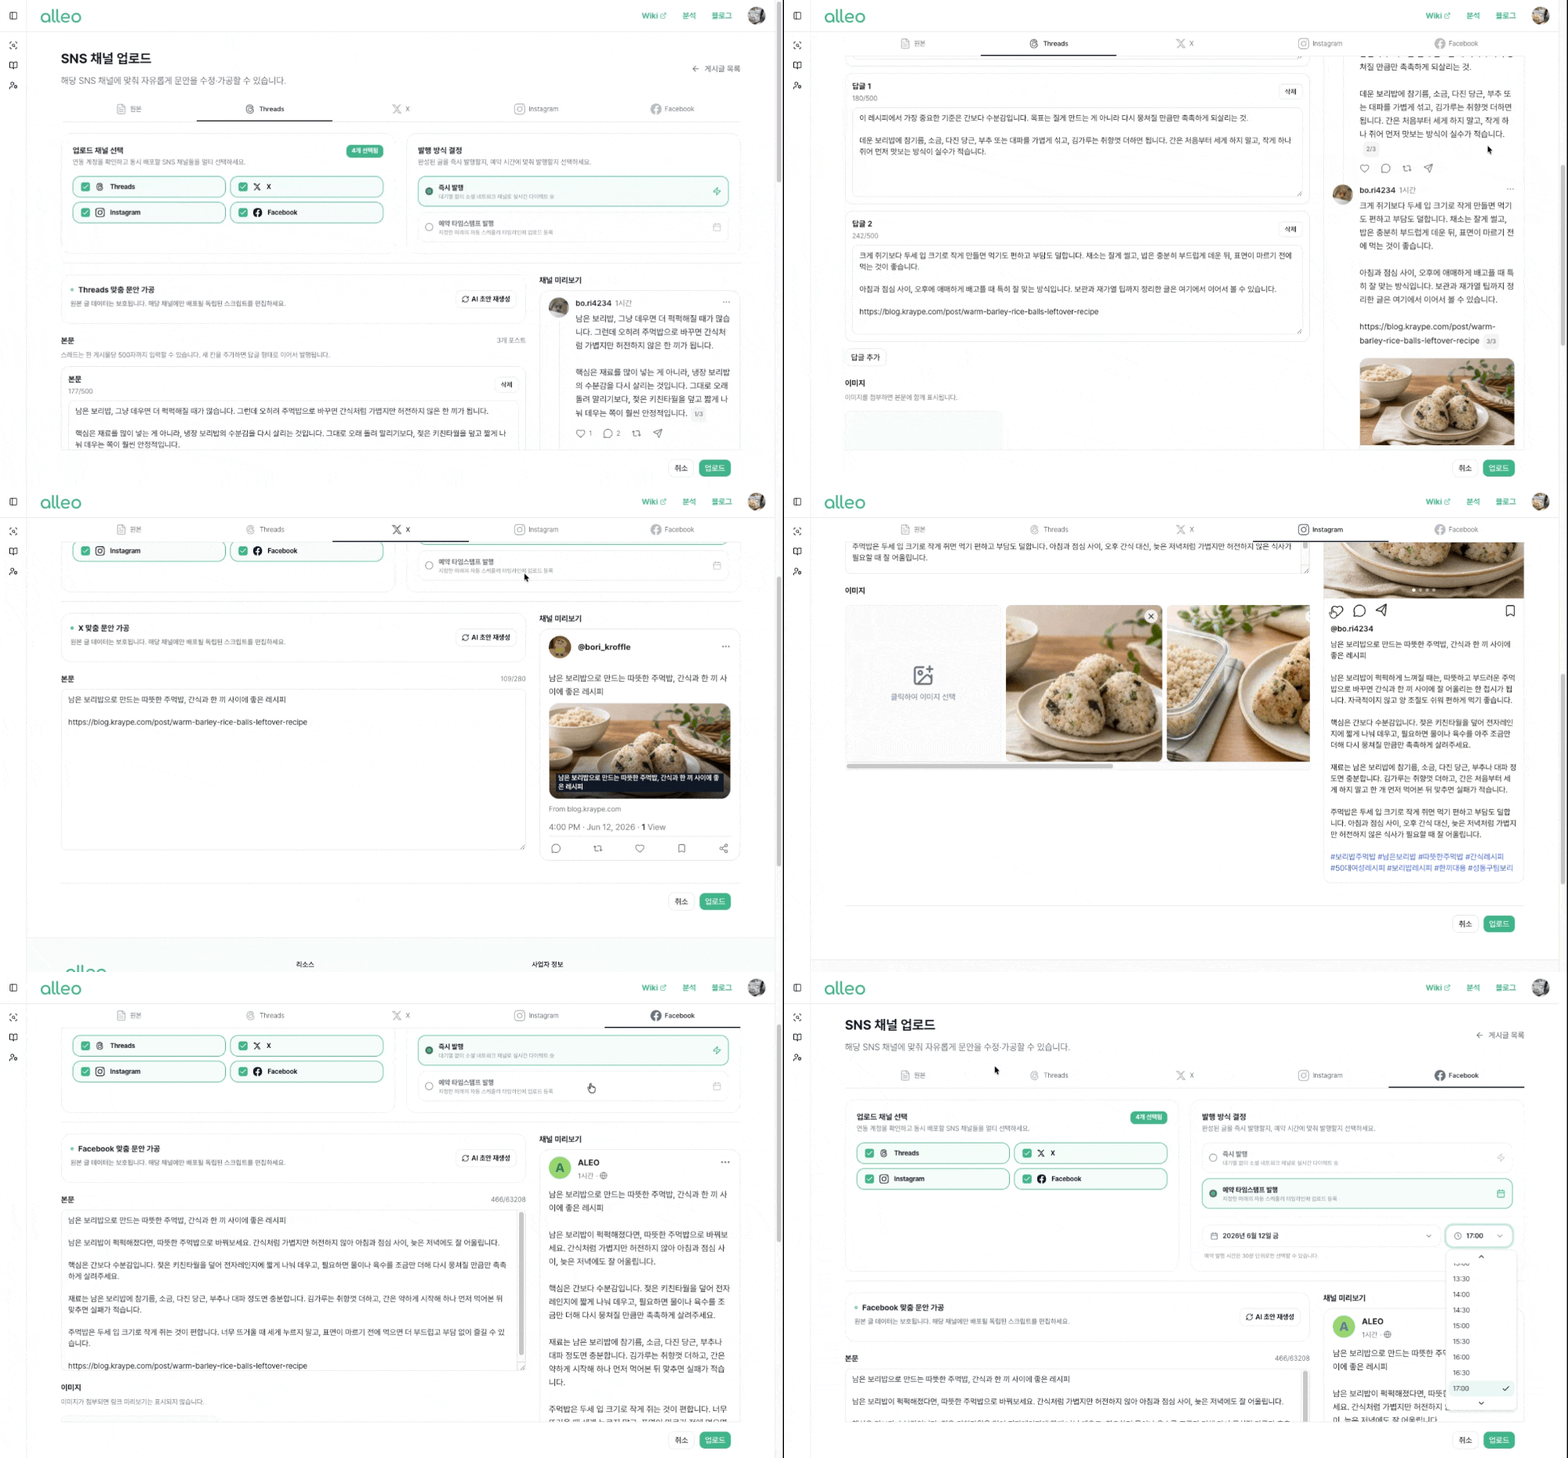
Choose the post to send to SNS from your post list. You can prepare SNS copy in advance not only for already published posts but also for scheduled posts.
Enable the channels you want to use for this campaign among connected SNS accounts. For unconnected channels, connect the account first on the integration page.
Automatically generate channel-specific copy, hashtags, and links from the original blog content. Instead of copying long text as-is, AI creates optimized summaries for each platform.
Based on AI suggestions, verify brand tone, restricted terms, and outbound links, then send a bulk upload request.
Track the status of all authored ownership content at a glance and continue follow-up distribution workflows without interruption. It helps you identify thumbnails, distribution timestamps, and performance metrics in real time without opening each post one by one.
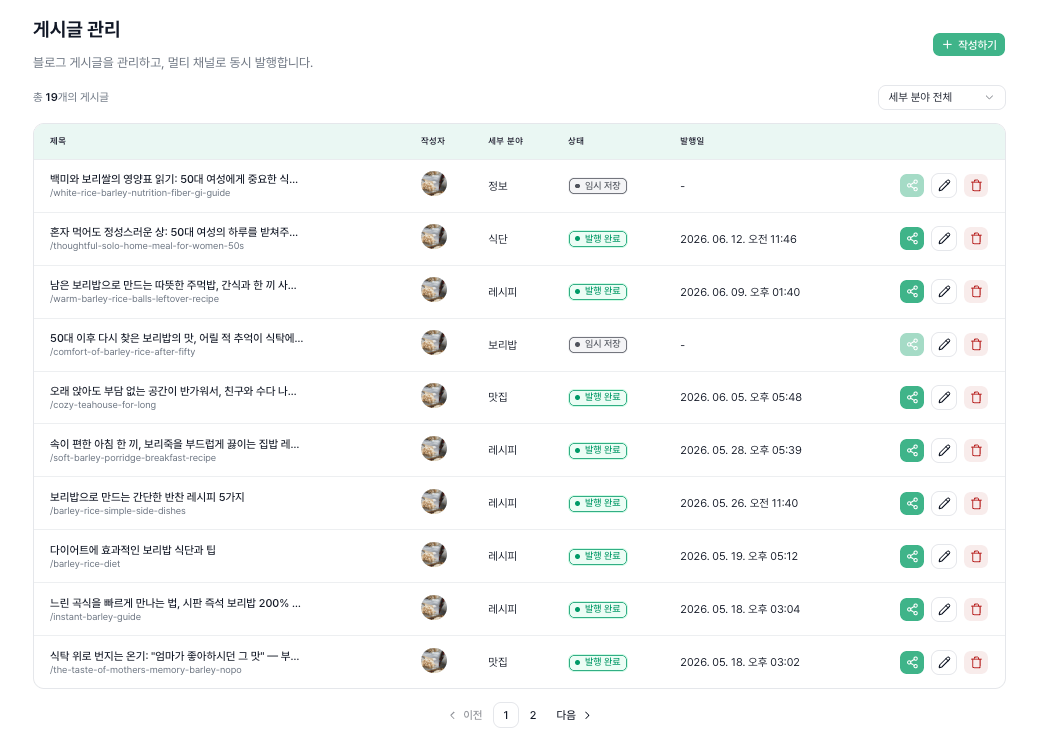
Check the post title, canonical URL, and featured thumbnail preview together.
The current live state is shown with clear badges: Draft, Scheduled, or Published.
Check major topic groups and keyword bundles used for structured data (JSON-LD) and dashboard classification.
Triggers to move to the next pipeline step, such as SNS multi-publishing, opening the editor, or deletion.
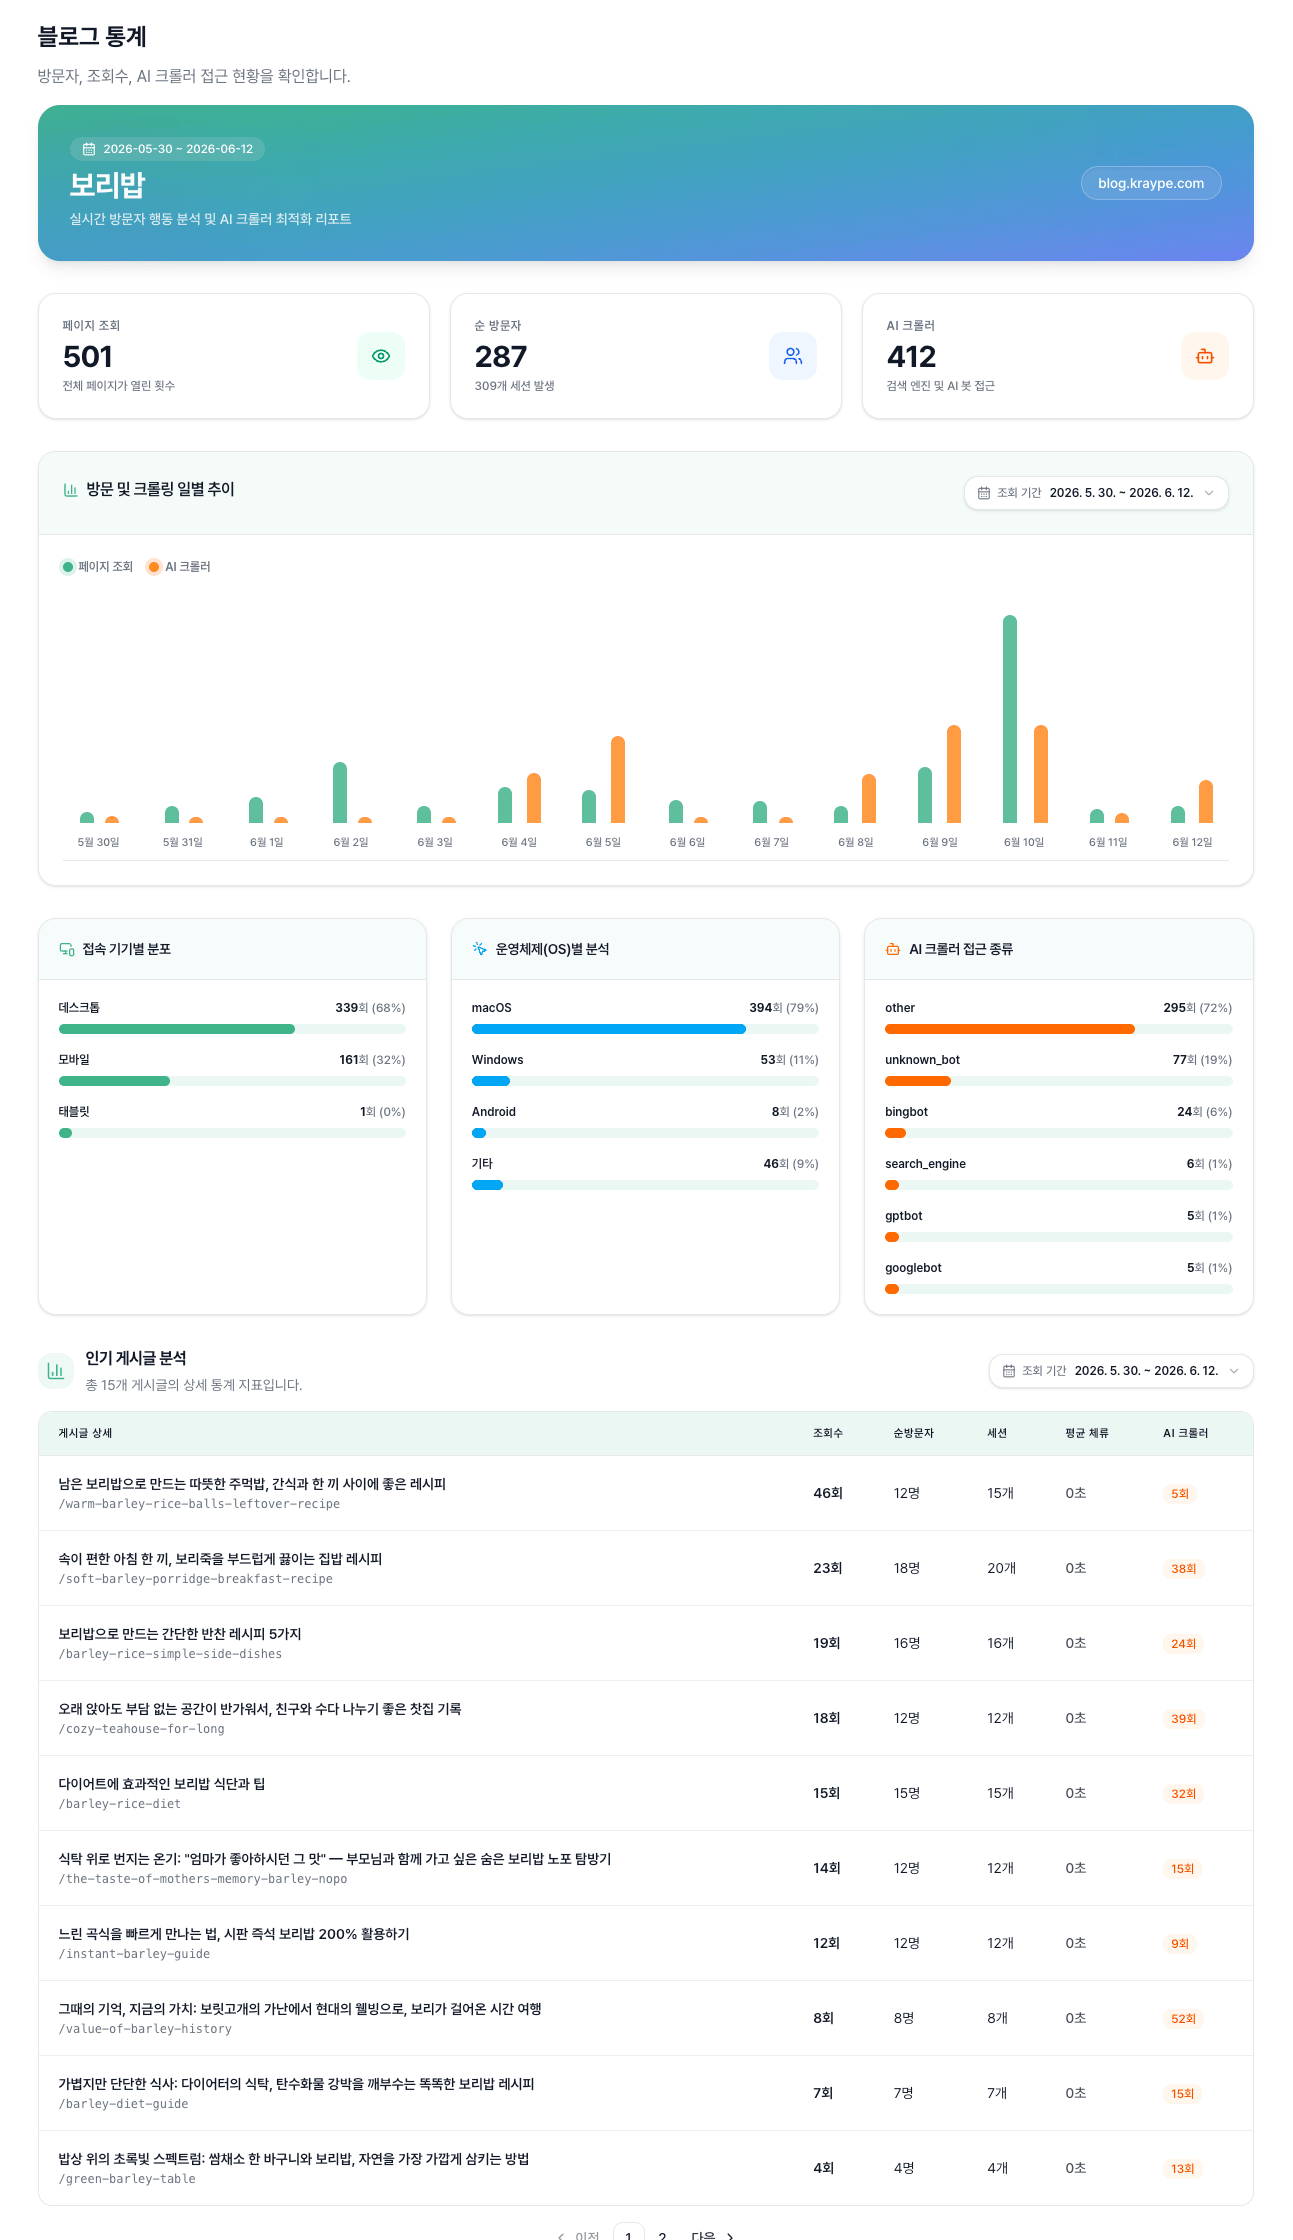
Open your blog with an intuitive 3-step build form and publish your first optimized ownership post right away with the AI interview guide.